An Itty-Bitty Guide to Pressing Flowers
Abby Flower Shopping in Paree ♥
I began pressing flowers over the course of this past academic year, during the autumn semester, and fell head-over-heels in love with the process upon being utterly delighted and blown away by the results of my first attempt. Since then, each and every time I have purchased or have been gifted flowers, I’ve taken time out of my busy schedule to slip a few blooms into the hardcover books stacked beneath my bed. It is always so, so worth it.
While I am no expert at the art of pressing flowers, and certainly will not pretend to be, I’ve decided to share the method I have relied on over these past few months to create my lovely – for lack of better words – ‘photo props’. Of course, there are countless uses for these pretty flowers; I’ve shared a few below. They’re wonderful to just have around, though… I love catching glimpses of them while completing assignments, writing blog posts, reading, dusting, etc., etc.,etc. in my room.
Ah, so, let’s begin, shall we? You’re just a few steps away from beginning a beautiful collection of your very own. Yay, yay, yay! Are you excited? I’m excited!
✿ Step One ✿
Locate a Lovely Flower Shop
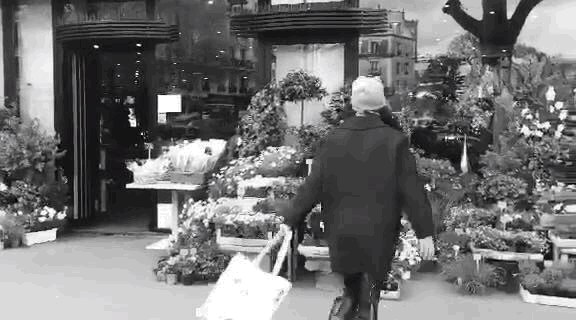
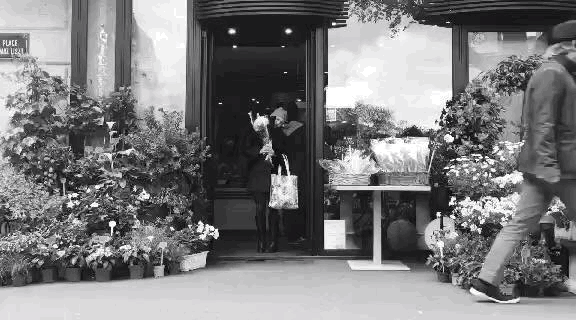
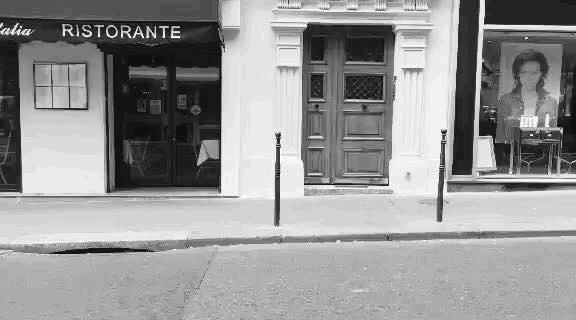
Where: Liliane de Matos Fleurs | Paris 10ème
Paris has no shortage of adorable ‘lil flower shops, but this one in the tenth arrondissement is a particular favorite of mine.
✿ Step Two ✿
Purchase a pretty bunch of fleurs
J’adore!
La vie est belle… and so are flowers, non?
✿ Step Three ✿
Gather Your Supplies
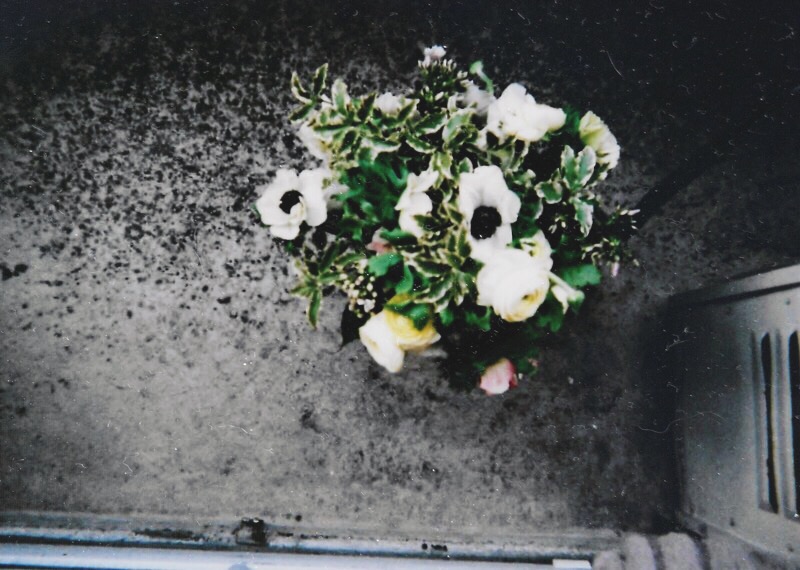
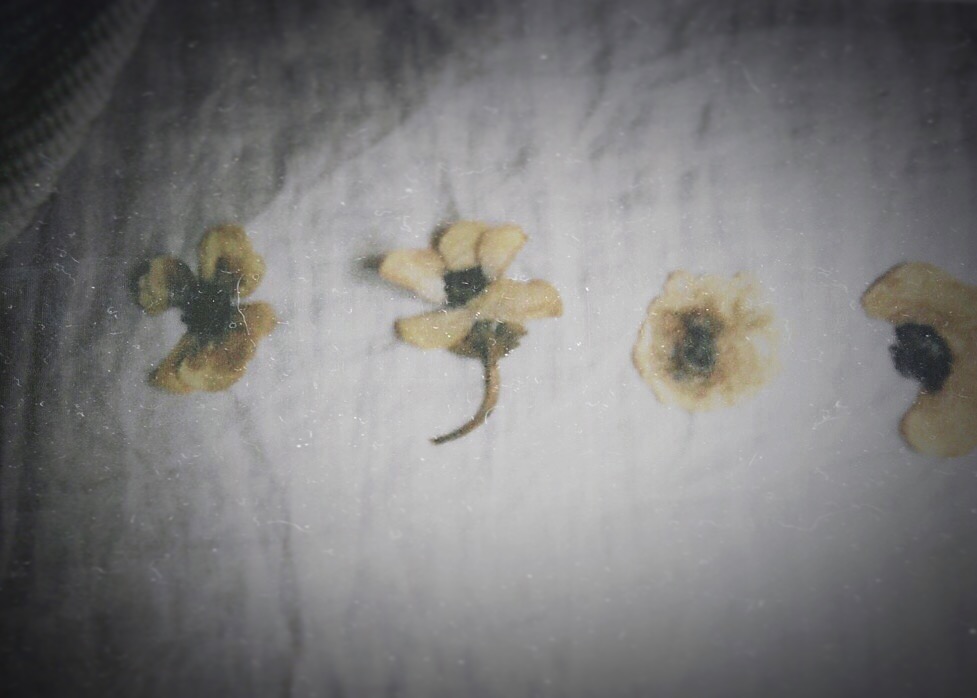
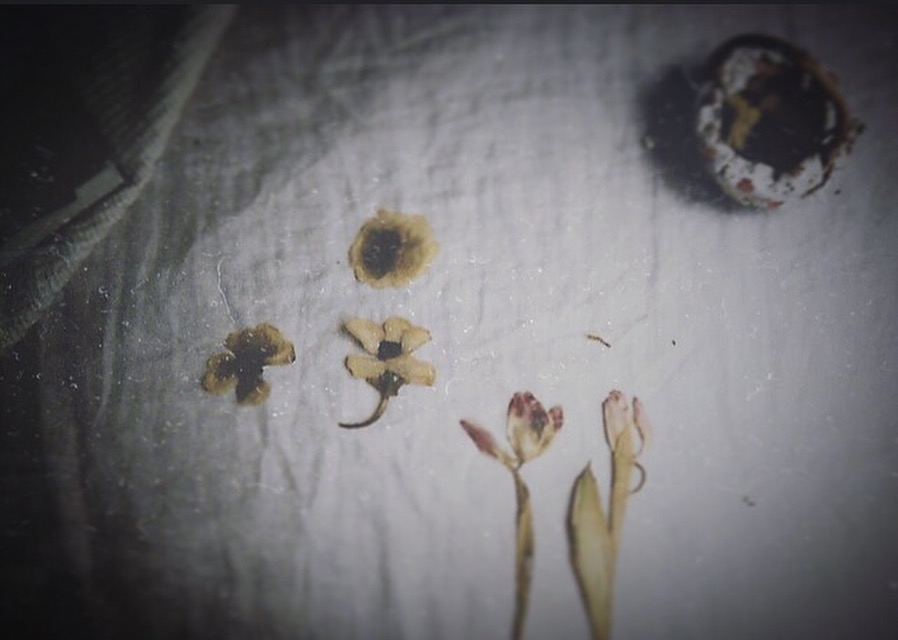
The Flowers Pressed in the Photographs Above & Below
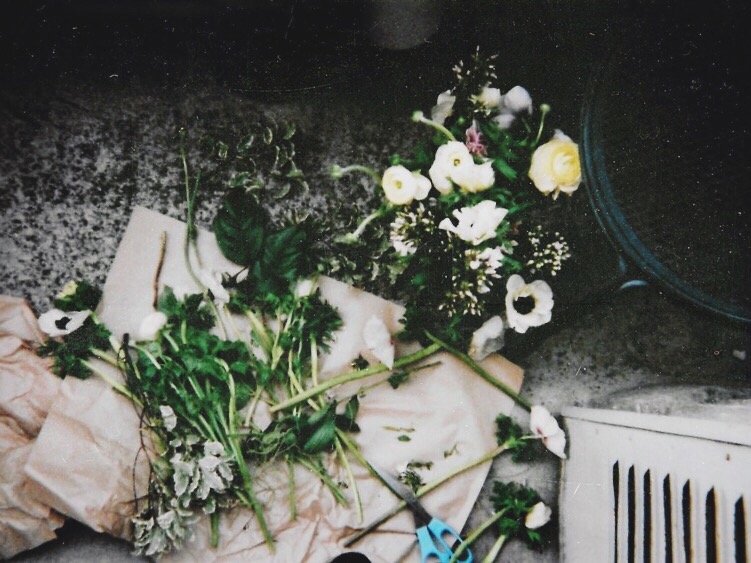
Snip, Snip, Snip!
You Will Need:
- Flowers (of course! They should be healthy and free of dew/water of any kind.)
- Hardcover book(s) and/or a flower press (note: I do not own a flower press and have never used one, but my fleurs have always pressed wonderfully with just hardcover books.)
- Wax paper (I believe parchment paper will do, as well)
- Scissors (perhaps)
✿ Step Four ✿
Place a sheet of parchment paper on a page within your book, and set the flower you desire on it. If necessary, trim the flower and shape it to your liking. Top with a second sheet of parchment paper. Repeat this step as many times, with as many flowers, as you desire. Then, close your book.
✿ Step Five ✿
Store your book in a cool, dry place, such as beneath your bed. Stack another hardcover book or two on top of the book which contains your flowers.
As tempting as it may be to peek after a week or two, don’t! The flowers should not be re-introduced to light for at least a month.
✿ Step Six ✿
Et voila! After four weeks pull those dusty books out and squeal with joy while admiring your floral creations for the first time.
Use the pressed fleurs for crafts, artwork, photography, scrapbooks, bookmarks… what and where ever your heart desires.
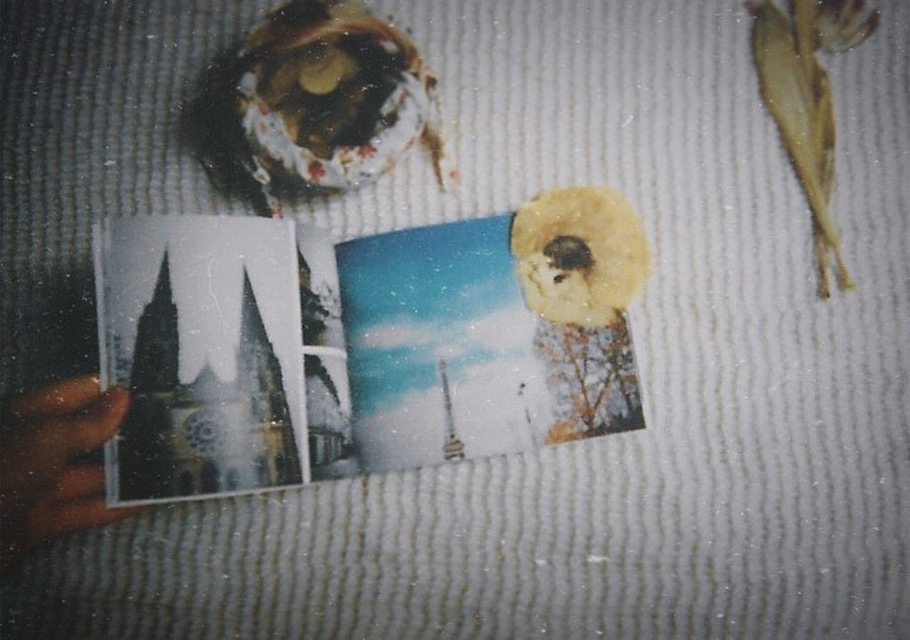
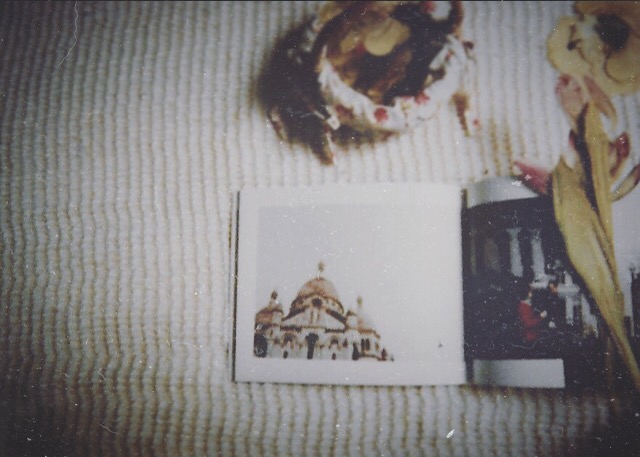
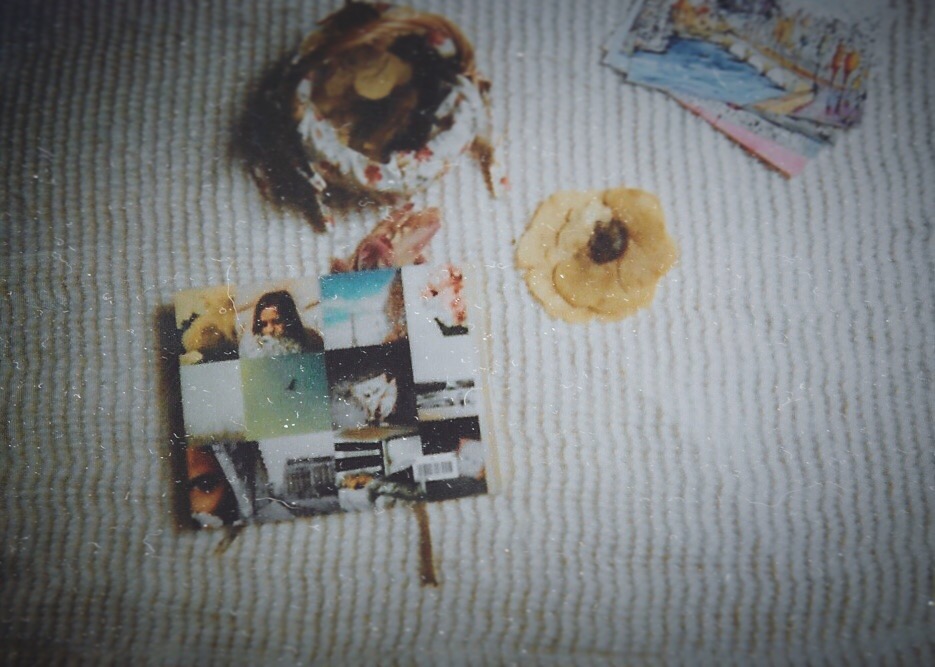
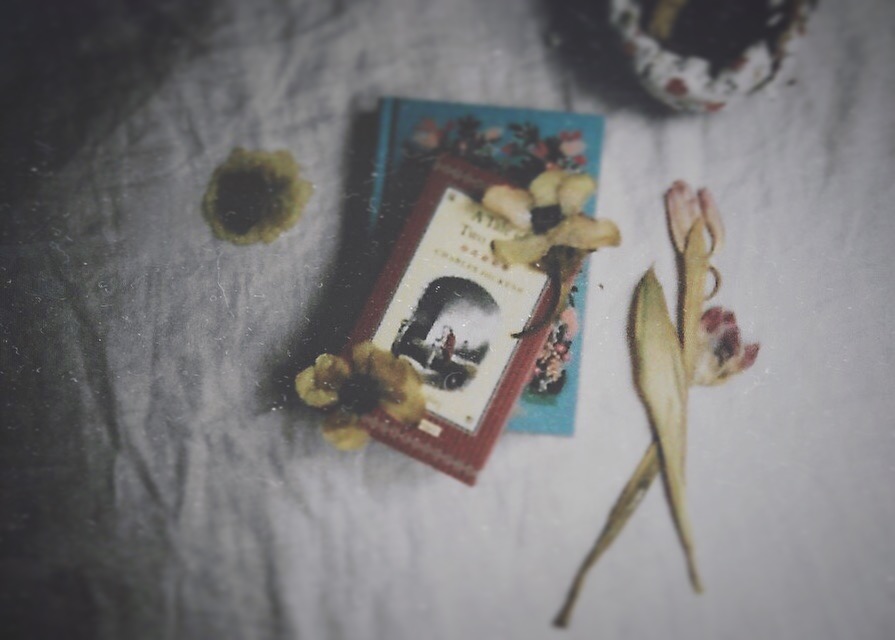
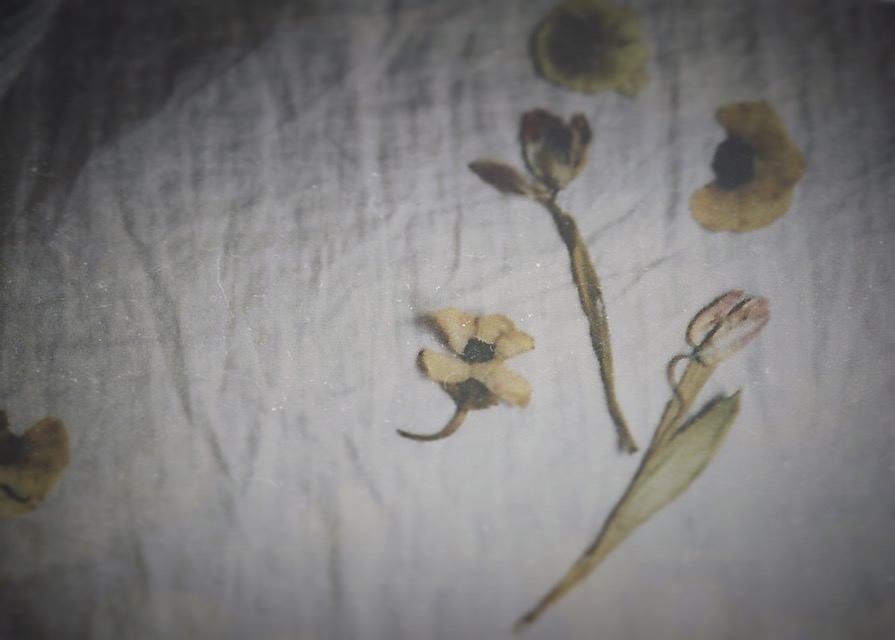
I Adore Using Pressed Flowers as Pretty Additions to My Photos
And there you have it, darlings! An itty-bitty guide to flower pressing and such. Summer is rapidly approaching and the time has nearly come for me to share my plans for the sunny season with you – I simply cannot wait! Until then, wish me luck on my final critiques, babes. My drawing final went oh-so-well, and I’ve just a few more days to go and a single essay to make minor tweaks and additions to.
I love you all. Here’s to the happy months ahead… hopefully they’ll be filled with pressed fleurs, yes? 😉
Sending many hearts ♥,
Abby


Those GIFs are adorable! Pressing flowers really isn’t all that difficult to do, yet buying pressed flowers can be more expensive than their necessarily worth. Thanks for this guide! -Audrey | Brunch at Audrey’s
Thank YOU so much, Audrey! xx
So pretty, and such a lovely idea – perfect for Mother’s Day!
Thanks, Laura! xx
I lovvvve this tutorial! The problem I have is that I peek before I should. Maybe this time I’ll last? (This was so lovely and your gifs are so cute.) xx
Hahah, it’s always sooo tempting! But you can do it; it’s so worth it! Merci, lovely. <3 xx
Being Scott-German, I find this method far too easy. Thanks a million.