How to Shoot & Process Raw Images

but, seriously…
I’m going to begin this article with a rather cruel, probably (definitely) not 100% true statement, but a nevertheless important one to make:
If you are not shooting in raw and expect to utilize the full potential of your camera you are an idiot.
Okay. That was mean. But you’ll remember, now, right? Right.
And now, I am going to explain a) the benefits of shooting raw, b) misconceptions regarding raw images – aka, excuses inexperienced photographers often make for not shooting raw, c) how to change the settings of your camera in order to shoot raw, and, of course, d) how to process raw images on your computer after having shot them. Are you ready?! Let’s go!
Aujourd’hui je commencerai cet article avec une déclaration plutôt méchante et probablement fausse, mais néanmoins important :
Si tu ne prends pas tes photos en raw et t’attends utiliser le potentiel maximum de ton appareil photos tu es bête.
C’était très méchant, je sais. Mais maintenant tu ne vas pas oublier, j’en suis sûre.
Dans ce poste je vais expliquer a) pourquoi tu dois prendre tes photos en raw, b) pourquoi des photographes qui manque d’experience pensent que ce n’est pas nécessaire, c) comment tu peux changer les paramètres sur ton appareil photo pour créer des images raws) et, bien sûr, d) comment éditer les images après que tu les as créés. On y va !
what is a raw image?
A raw file is one in which none of the information of the image you captured is compressed. When shooting in JPEG mode, the camera automatically compresses the images to create a file of a smaller size, which is ideal for non-photographers shooting on family vacations or at their kids’ choir recital. However, as a result of this compression a great majority of the information in the photo is lost and the range of possibilities for salvaging a heavily under or overexposed photo is significantly minimized. (Which is why I believe even amateur photographers ought to shoot raw.) That said, you cannot print (generally, I believe it is possible from Lightroom) or upload raw files online, so it is always necessary to convert them into TIFs or JPEGs after completing the editing phase.
Raw images are also non-destructive. Whilst editing JPEG files, you are slowly but surely chipping away at the quality of the image. The more you edit, the lower the quality of your final image will be. Not at all ideal.
When you make changes to a raw file, they are saved separately in an XMP file which corresponds to your image. Your original raw image itself is still completely intact.
Une image raw est une image sans information comprimée. Quand tu prends des photos en mode JPEG, l’appareil photo va compresser automatiquement l’image pour créer un fichier plus petit. C’est idéal pour des photographes novices qui veulent simplement quelques clichés de leurs vacances mais par conséquent ils perdent beaucoup d’informations dans leurs images. Très souvent, ce n’est pas possible à sauver des images JPEGS où les expositions sont trop foncées ou vives. C’est pourquoi, à mon avis, tout le monde doit prendre leurs photos en raw! Aussi, en général, tu ne peux pas imprimer des raw photos (je pense que c’est possible avec Lightroom) ou télécharger les fichiers en ligne. Il faut convertir les fichiers raw en TIF ou JPEG après que tu les as édité.
Aussi, les images raw sont non destructives. Quand tu édites des JPEGS tu es en train de détruire la bonne qualité de tes images.
En revanche, quand tu édites un fichier raw, les changements sont enregistré séparément dans un fichier XMP. L’image originale est toujours intact.
why you might not have been shooting in raw
The most common excuse for avoiding shooting in raw is one I once made myself:
“I don’t have the space for raw files on my computer.”
And it is true. However, raw files may not be quite as large as you believe… on average, each is about 3 to 4 times as ‘heavy’ as their JPEG counterpart. At the moment I have several hundred raw images on my Macbook Pro, and have invested in two hard drives and additional Dropbox space for the rest. Hard drives, I remind you, are generally very affordable and trust me – it’s worth every cent for the range of possibilities raw files provide. Also worth mentioning is the fact that after you have edited and converted your raw pictures into either TIFS or JPEGS, you may no longer have need of the original raw files. In some cases, I delete them to create more space on my hard drives or computer after having backed up my TIFS and sent the JPEGS to my client or friend.
Another common argument is that it takes longer to edit and process a raw file than a JPEG. Which can be true, but depending on your workflow and habits, isn’t necessarily a fact. In all cases, isn’t it worth a few extra minutes to create the highest quality image possible? Or to create the image at all – as I mentioned previously, it is possible to salvage extremely over/under exposed raw files, whereas with JPEGS the same sort of images typically end up in the trash, even after countless attempts to rectify their problems.
L’excuse plus courante pour éviter les fichiers raw est une que j’ai utilisé moi-même il y a quelques années :
“Je n’ai pas assez de place pour les fichiers sur mon ordinateur.”
Et c’est vrai. Pourtant, les fichiers raw ne sont pas peut-être si grand que tu penses. En moyenne, chacun est trois ou quatre fois plus grands qu’un JPEG. Actuellement j’ai environ cent fichiers raw sur mon Macbook Pro et j’ai aussi deux disques externes et un abonnement avec Dropbox. Les disques dur externes ne sont pas très cher et c’est vaut tout pour les possibilities tu auras avec tes raw fichiers. Aussi, après que tu as édité les fichiers, si tu ne les auras pas besoin à l’avenir tu peux les supprimer et garder simplement les JPEGs et TIFs pour toi et tes clients.
Il y a des gens qui disent également que les fichiers raw prennent trop de temps pour les éditer. Parfois cette déclaration et vraie et parfois c’est fausse. Tout dépendre de tes façons de travailler et tes habitudes. En tous cas, c’est vaut quelques minutes plus de travail pour des meilleurs photos, non ?
raw camera settings
I personally adore Canon products, so they’re what I’ll be referencing today. You can though, of course, search for how to change the settings on a Nikon, Fuji, etc. online, if my instructions aren’t applicable to your device.
- Turn your camera on (of course).
- MENU >
- IMAGE QUALITY >
- RAW. (you can also select raw + jpeg, but I wouldn’t recommend it, as it takes up more space on your memory card.)
That’s it!
J’adore les produits Canon donc c’est la marque dont je parle avec les consignes ci-dessous. Il y a beaucoup d’articles en ligne avec conseil pour d’autres appareils comme Nikon, Fuji, etc.
- Allume ton appareil photo.
- MENU >
- QUALITÉ IMAGE >
- RAW. ( tu peux choisir également raw+jpeg mais je ne le recommande pas à cause d’il prend plus de place sur ta carte mémoire. )
Et c’est tout ! Facile, non ?
how to process your raw files
If you have access to Photoshop (a subscription or the program itself), you should be able to automatically access Camera Raw, an Adobe software for professionally editing raw files, by double clicking on the raw image which you’ve imported onto your desktop. I generally place all of the raw files from a shoot in a new folder, then select them all at once and double click to open them all in Camera Raw. You can also edit raw images quite well with Lightroom, but I personally prefer Camera raw for the simplicity and ease it offers. (I usually batch edit aspects of images such as exposure, contrast, etc. in Lightroom, then move individual images to Photoshop in order to create specific masks, local adjustments, etc. But that, my friends, is a whole other post…)
Si tu as Photoshop sur ton ordinateur (soit un abonnement soit l’original software), tu peux accéder Camera Raw, un software d’Adobe pour éditer les fichiers raw, quand tu cliques sur une image raw qui est sur ton bureau. Généralement je mets tous les fichiers raw d’un shooting dans un nouveau fichier, sélectionne tous, et clique deux fois pour les ouvrir dans Camera Raw. Tu peux éditer les images raw dans Lightroom aussi, mais je préfère Camera Raw parce que c’est plus simple, à mon avis.
So here we are in Camera Raw! (And I, of course, just now realized that my computer is in French, but the majority of those reading this post will be doing so in English. Brilliant, Abby! Anyways… try to keep up, pretty please?)
Et voici Camera Raw! ( Je me suis rendue compte quand j’ai fait cette capture d’écran que mon ordinateur est en français. Très bien pour mes lecteurs français mais… je pense avoir près de zero. J’écris en français seulement pour la pratique. Oooops .)

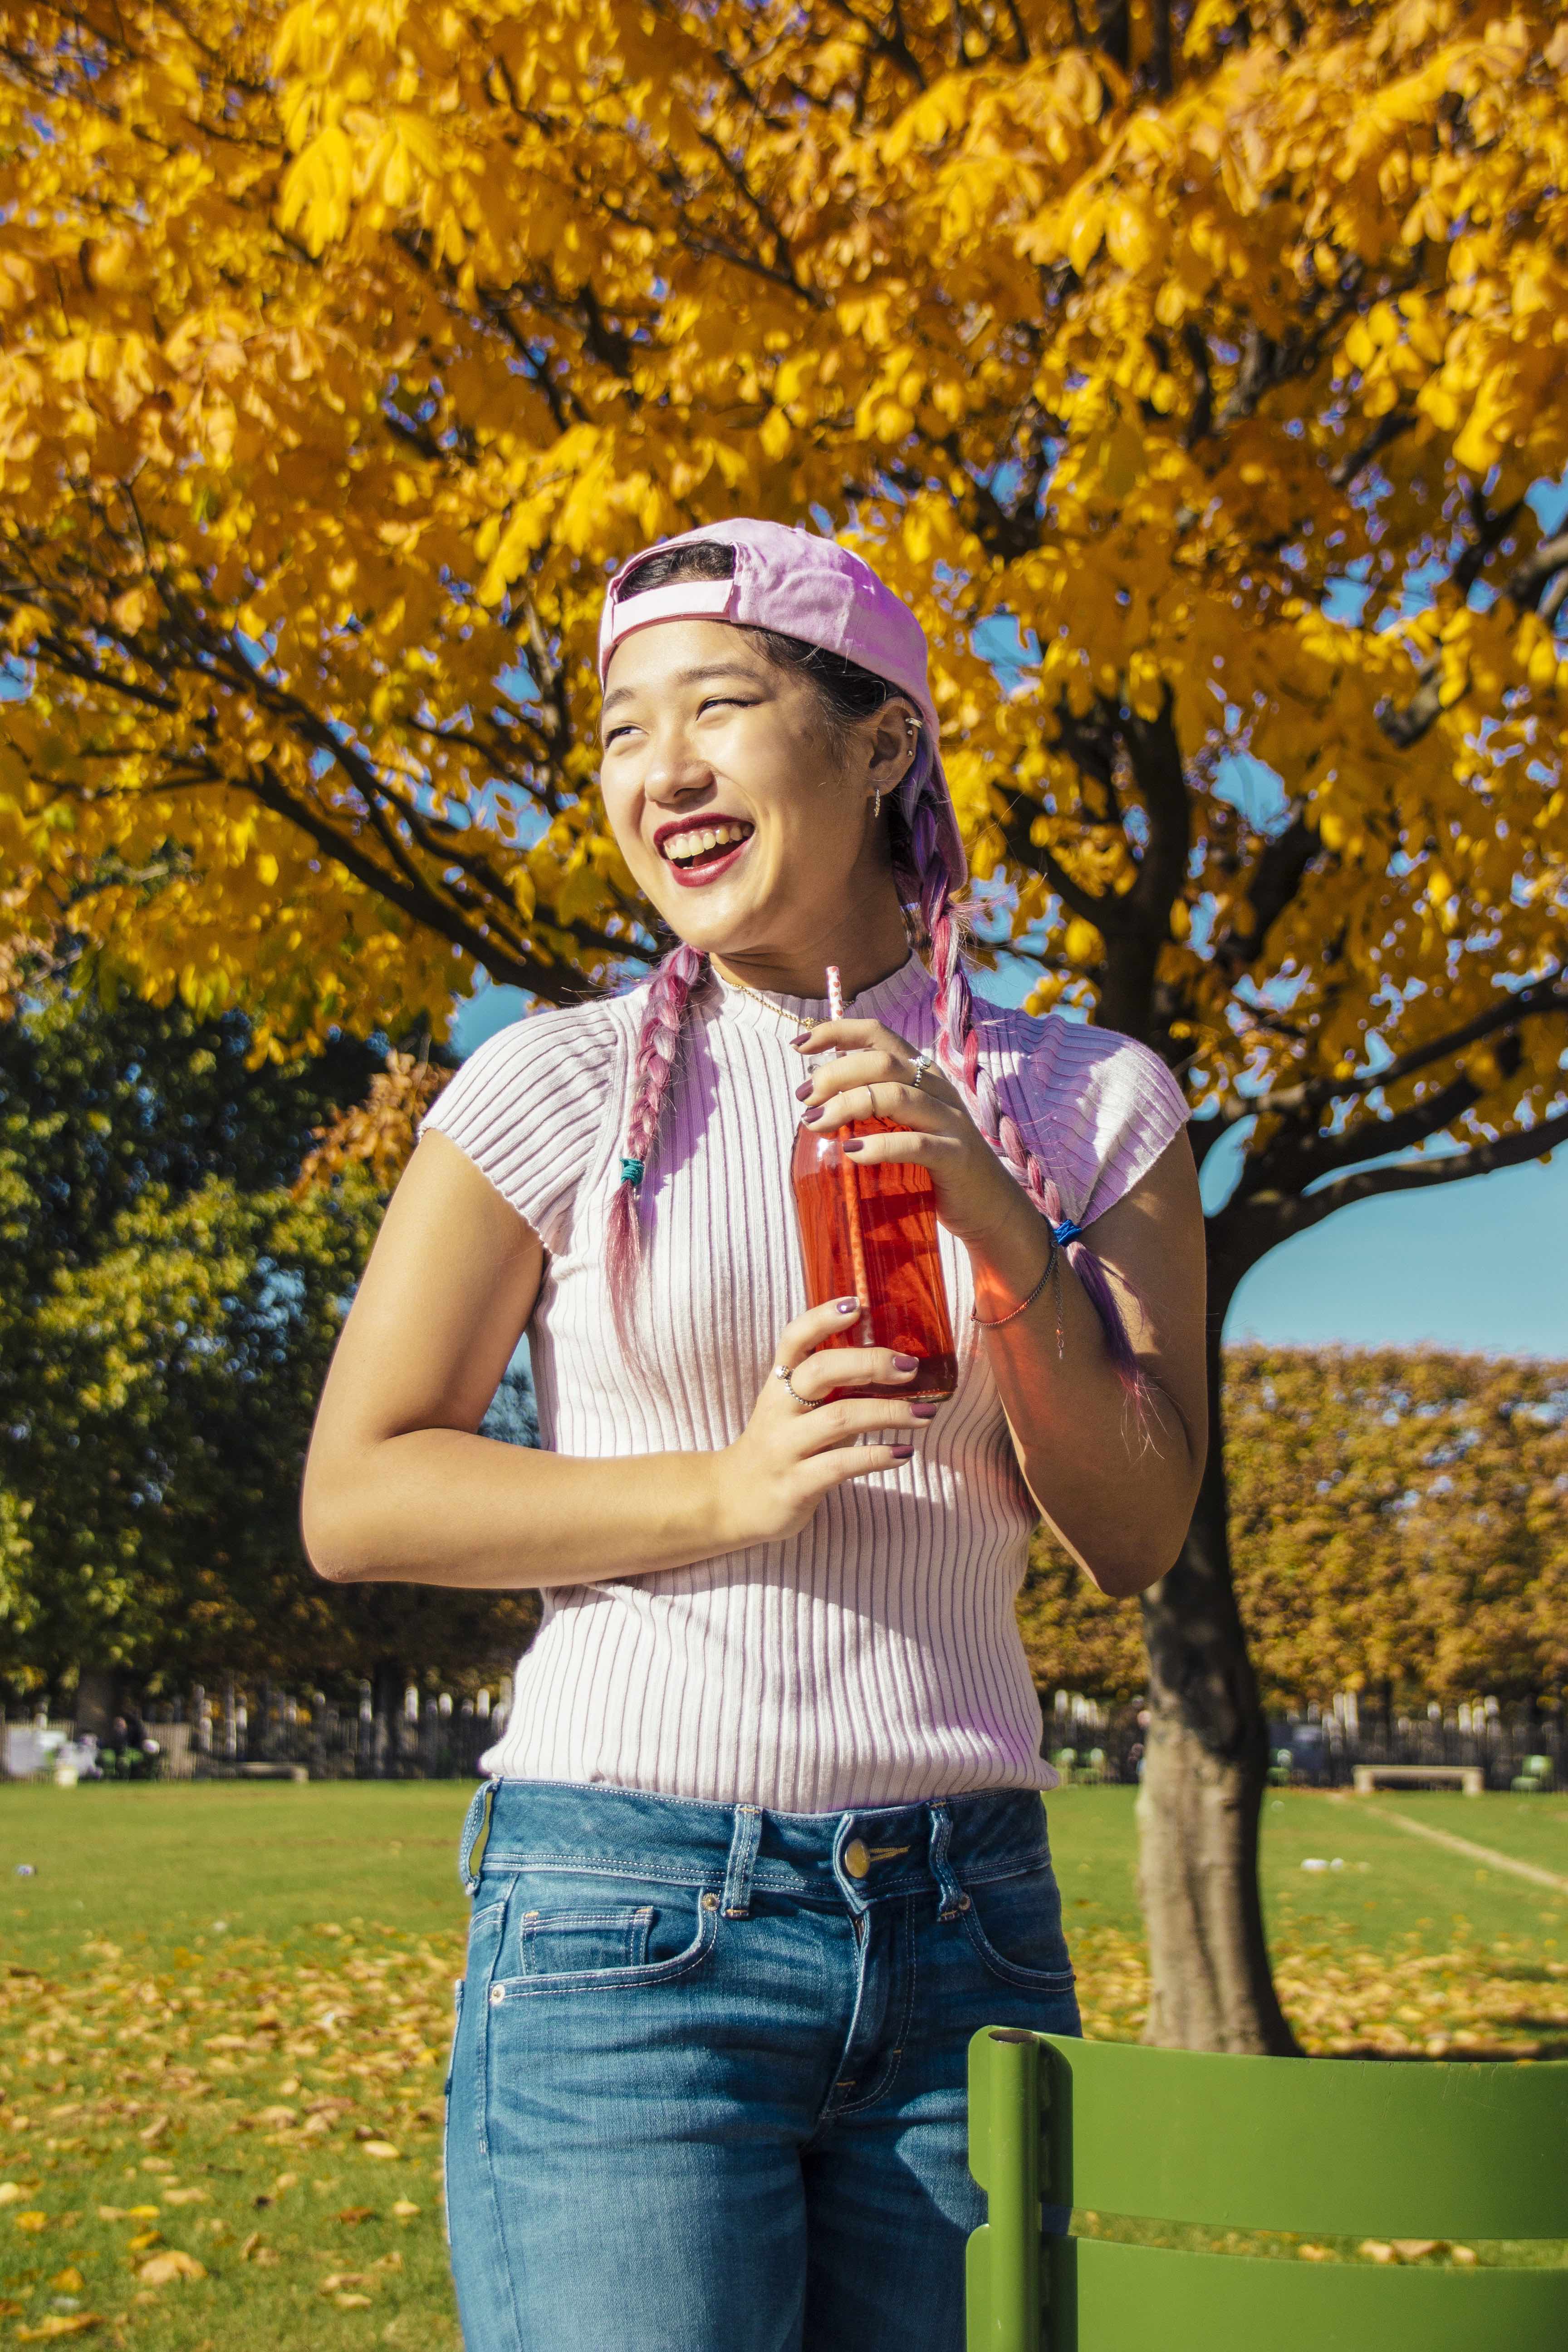
Another benefit of raw files: you have access to all the information behind the photo itself. That’s to say, your aperture, shutter speed, ISO, type of Camera, lens… etc. I love it.
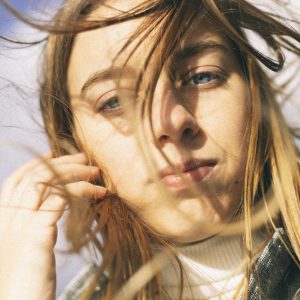
This photo of Kayoon was shot with a Canon EOS Rebel t3i, at an aperture of f/4,5, a shutter speed of 1/800 s, and an ISO of 100 with my 18-250 mm lens at 37mm.
It would take a quarter of a century (slight exaggeration…) to explain all the aspects of Camera Raw to you, so today we’ll be going over just the most crucial.
Also: at this point as the screenshots are in French and we’re talking in technical terms, I’ll be writing in just English for the time being.
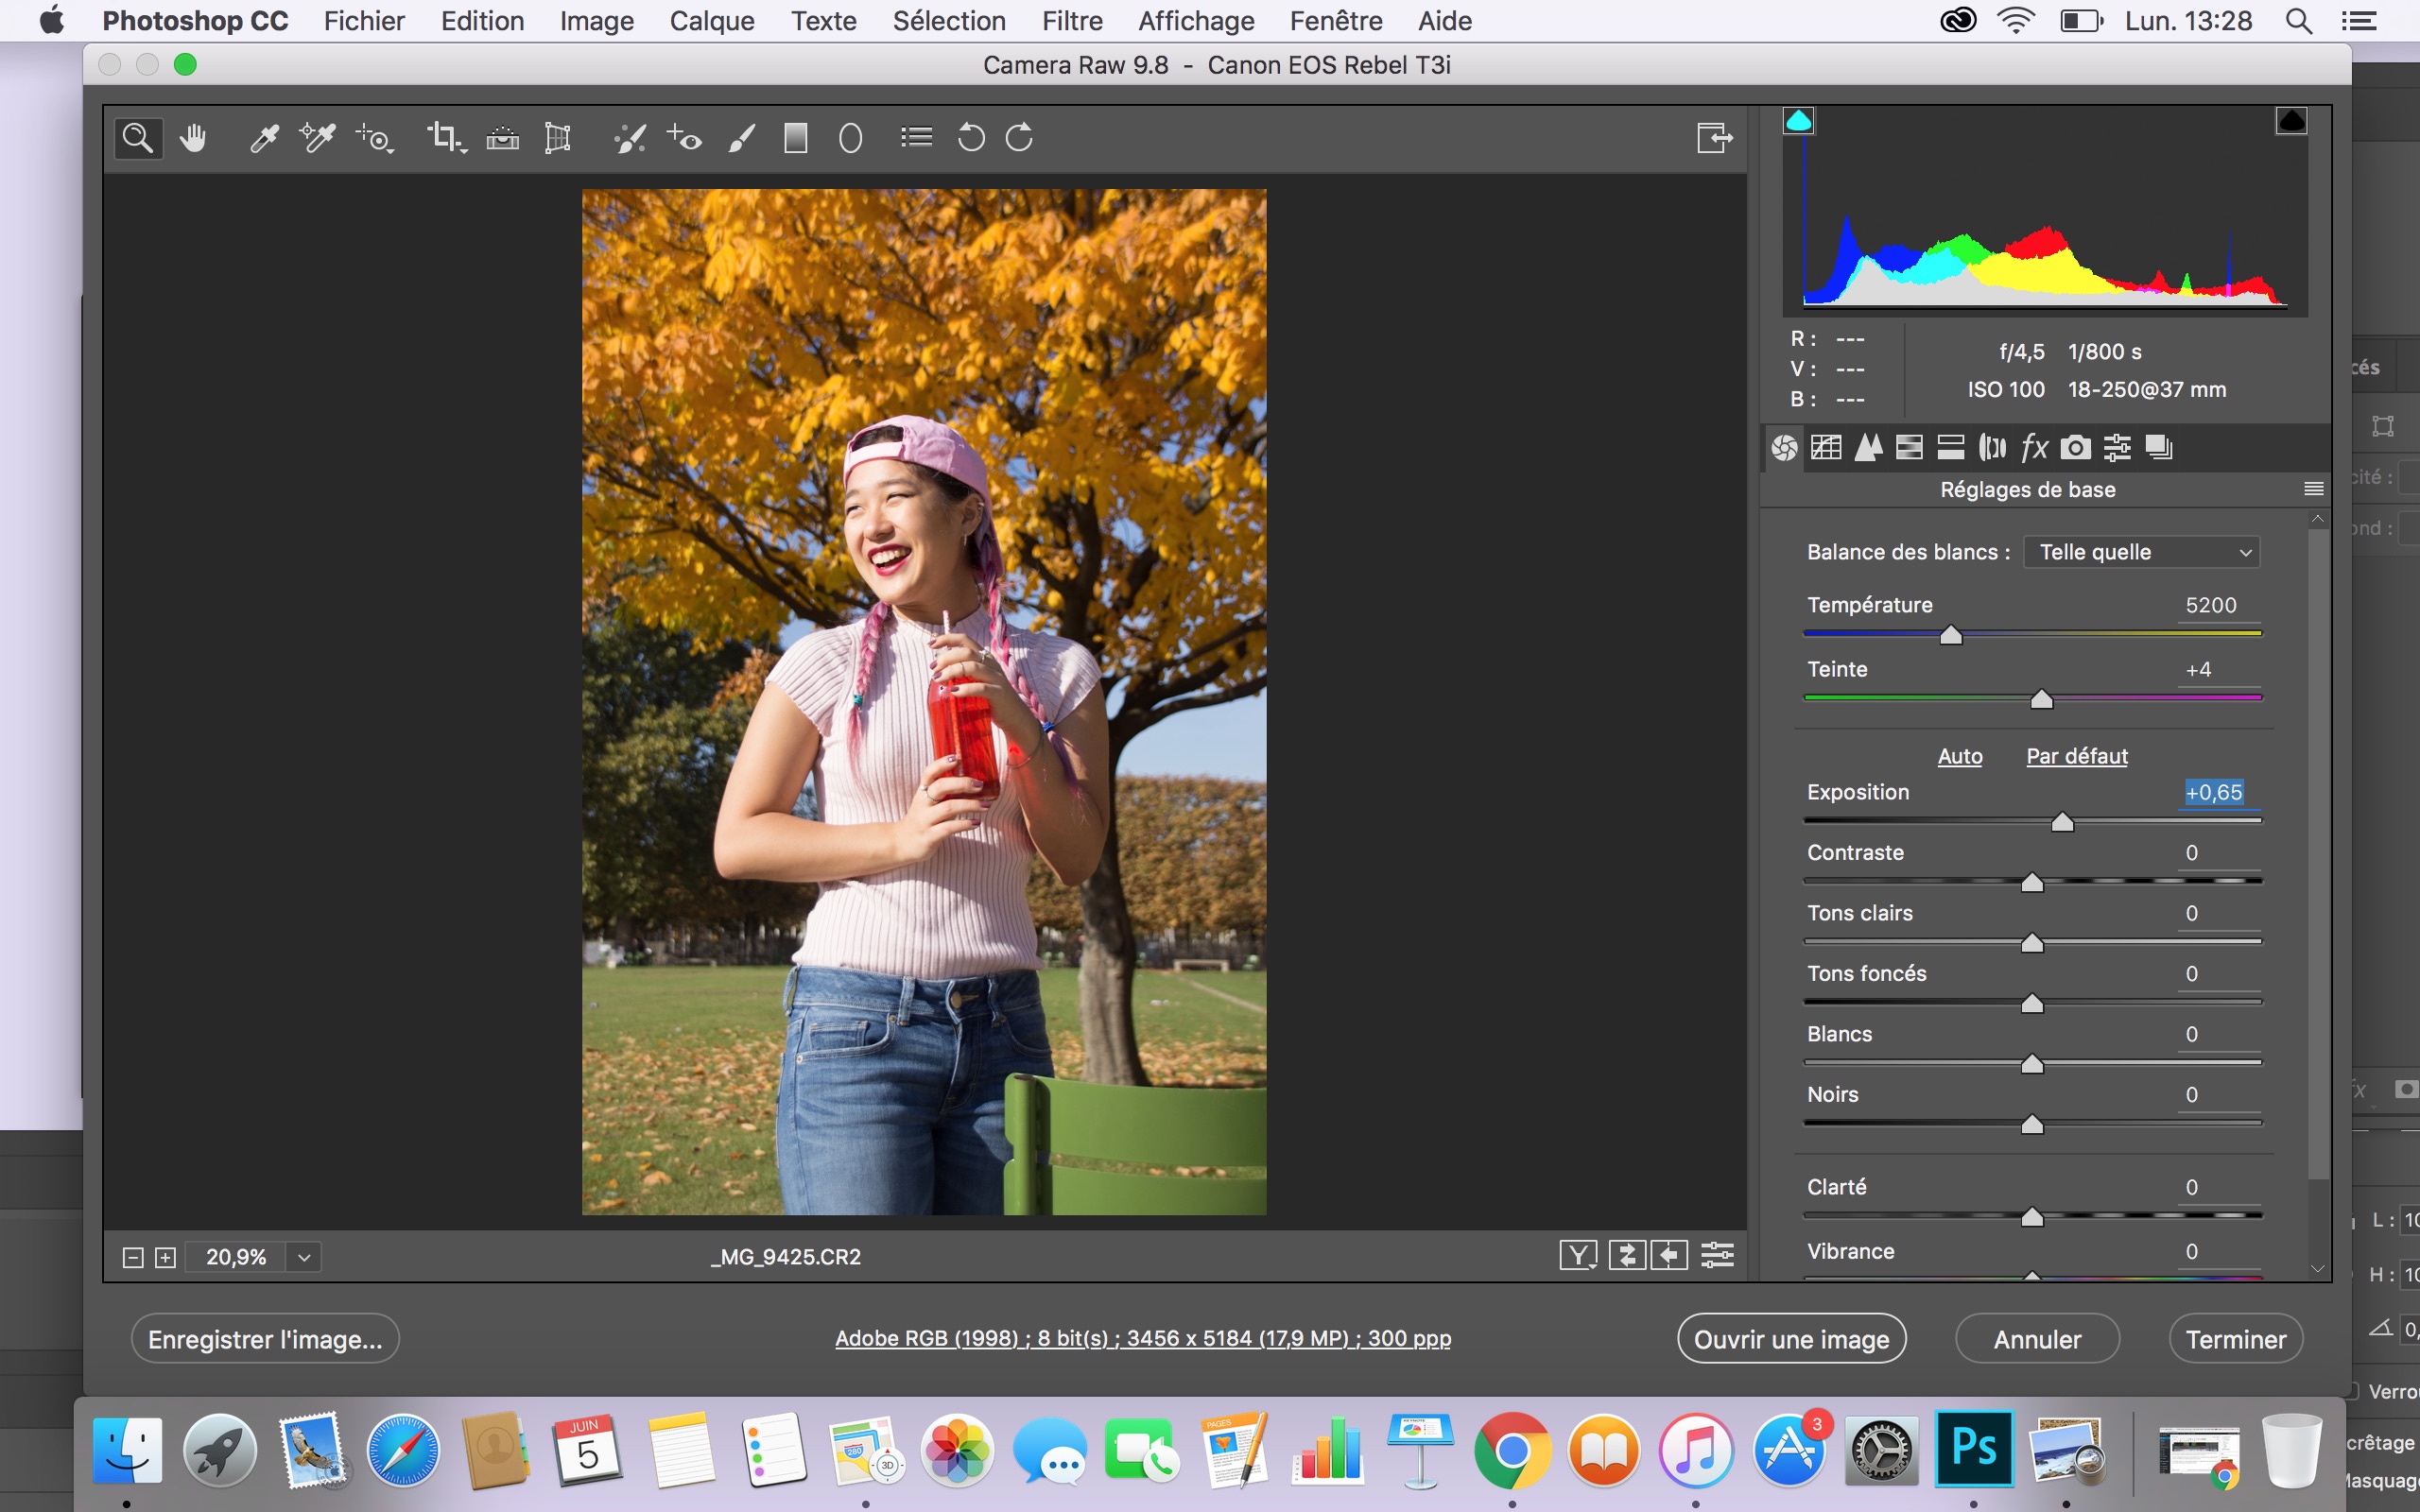
I won’t be taking the time to review exposure, contrast, highlights, shadows, clarity, vibrance, etc… with you today, as I assume the vast majority of you already have a basic understanding of these aspects of photo-editing. In the image above, I increased the exposure just ever-so-slightly and didn’t touch any other settings.
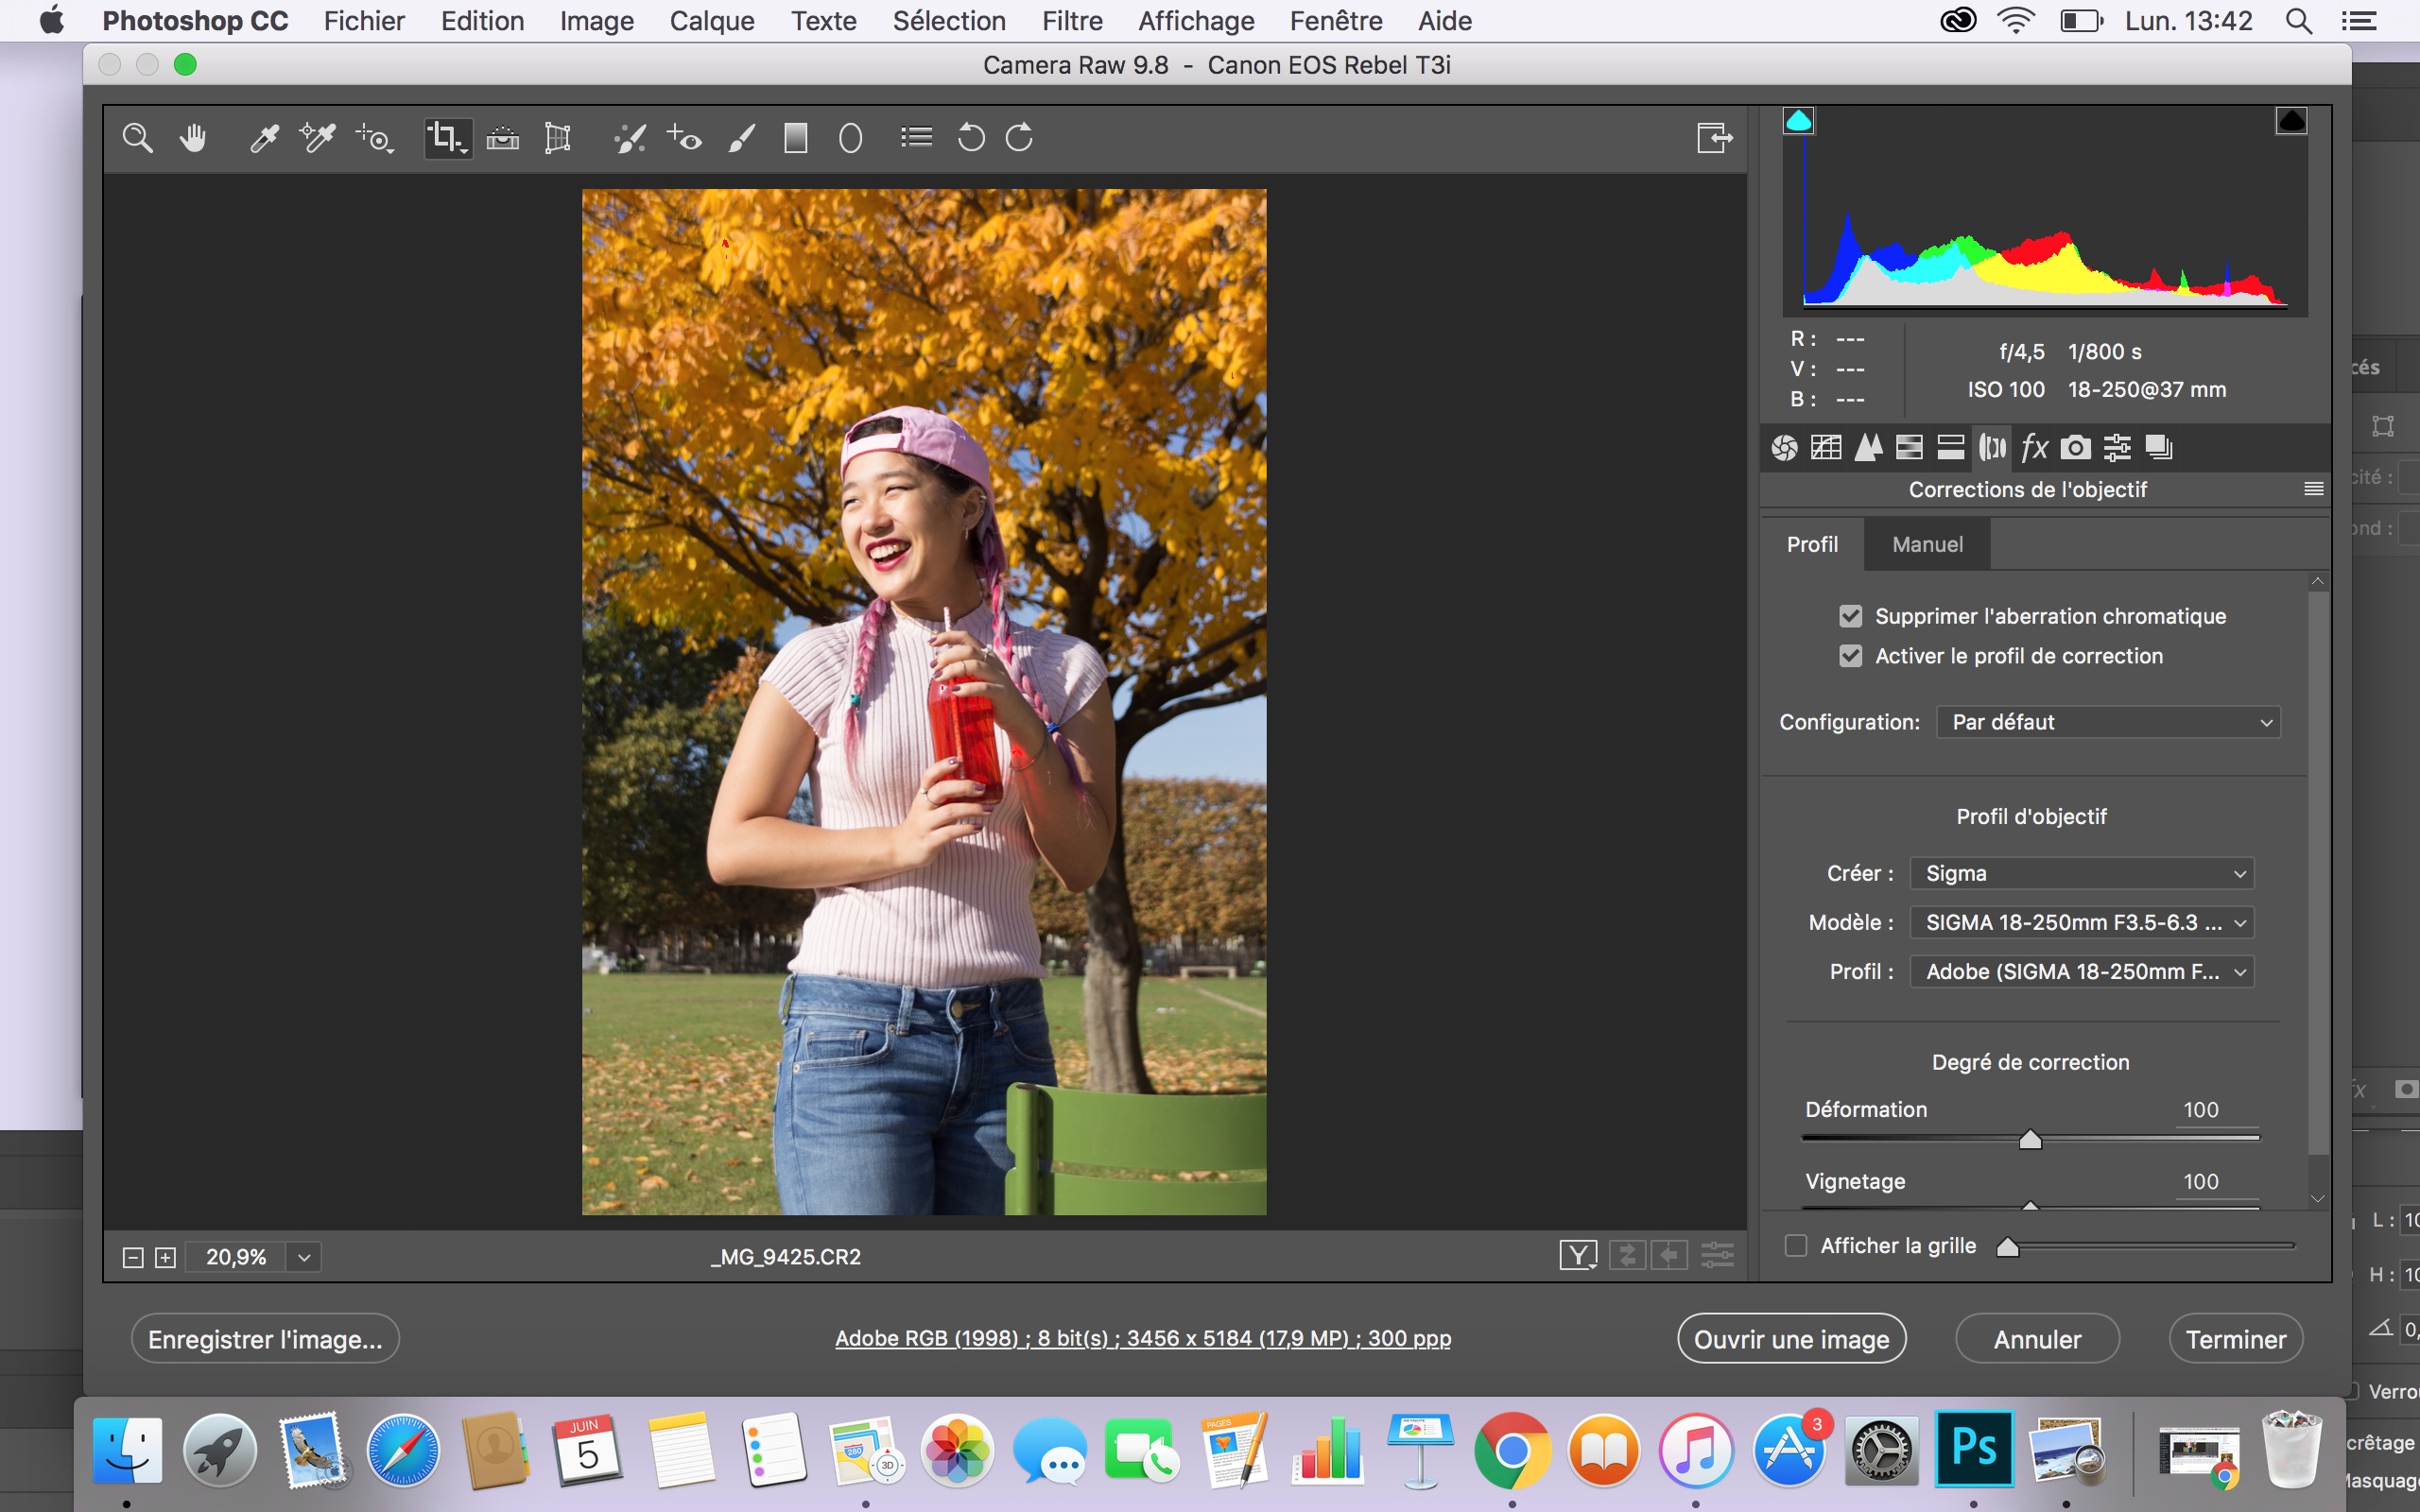
Just above, we have one of my very favorite Camera Raw tools: lens correction and deletion of chromatic aberration. Lightroom and Photoshop both have this, as well, but I find it simpler to use in Camera Raw and by far prefer it here.
The program automatically recognizes your lens and therefore can, by default, correct any lens distortion in your photo. This is particularly useful for wide-angle images shot with ordinary lenses; landscape and building shots that appear to be extremely distorted, that’s to say. I typically use this feature with portraits, too, and find that it sometimes works wonders. You can adjust the degree of correction with the slider tools below, and fix unwanted vignettes (or add vignettes, should you have the desire), as well.
As for chromatic aberration: the cause of it is quite scientific and difficult for me to properly explain, so I pulled a definition from the web:
“Chromatic aberration, also known as “color fringing” or “purple fringing”, is a common optical problem that occurs when a lens is either unable to bring all wavelengths of color to the same focal plane, and/or when wavelengths of color are focused at different positions in the focal plane. Chromatic aberration is caused by lens dispersion, with different colors of light travelling at different speeds while passing through a lens. As a result, the image can look blurred or noticeable colored edges (red, green, blue, yellow, purple, magenta) can appear around objects, especially in high-contrast situations.” (source: Photography Life, What is Chromatic Aberration)
You can read more and see some examples here.
Camera Raw does an excellent job correcting the colored edges which occur due to chromatic aberration (usually on dark trees against a light sky, I’ve found), and though there isn’t any in the photo example of Kayoon I’ve selected, I thought it would be more than worth bringing up.
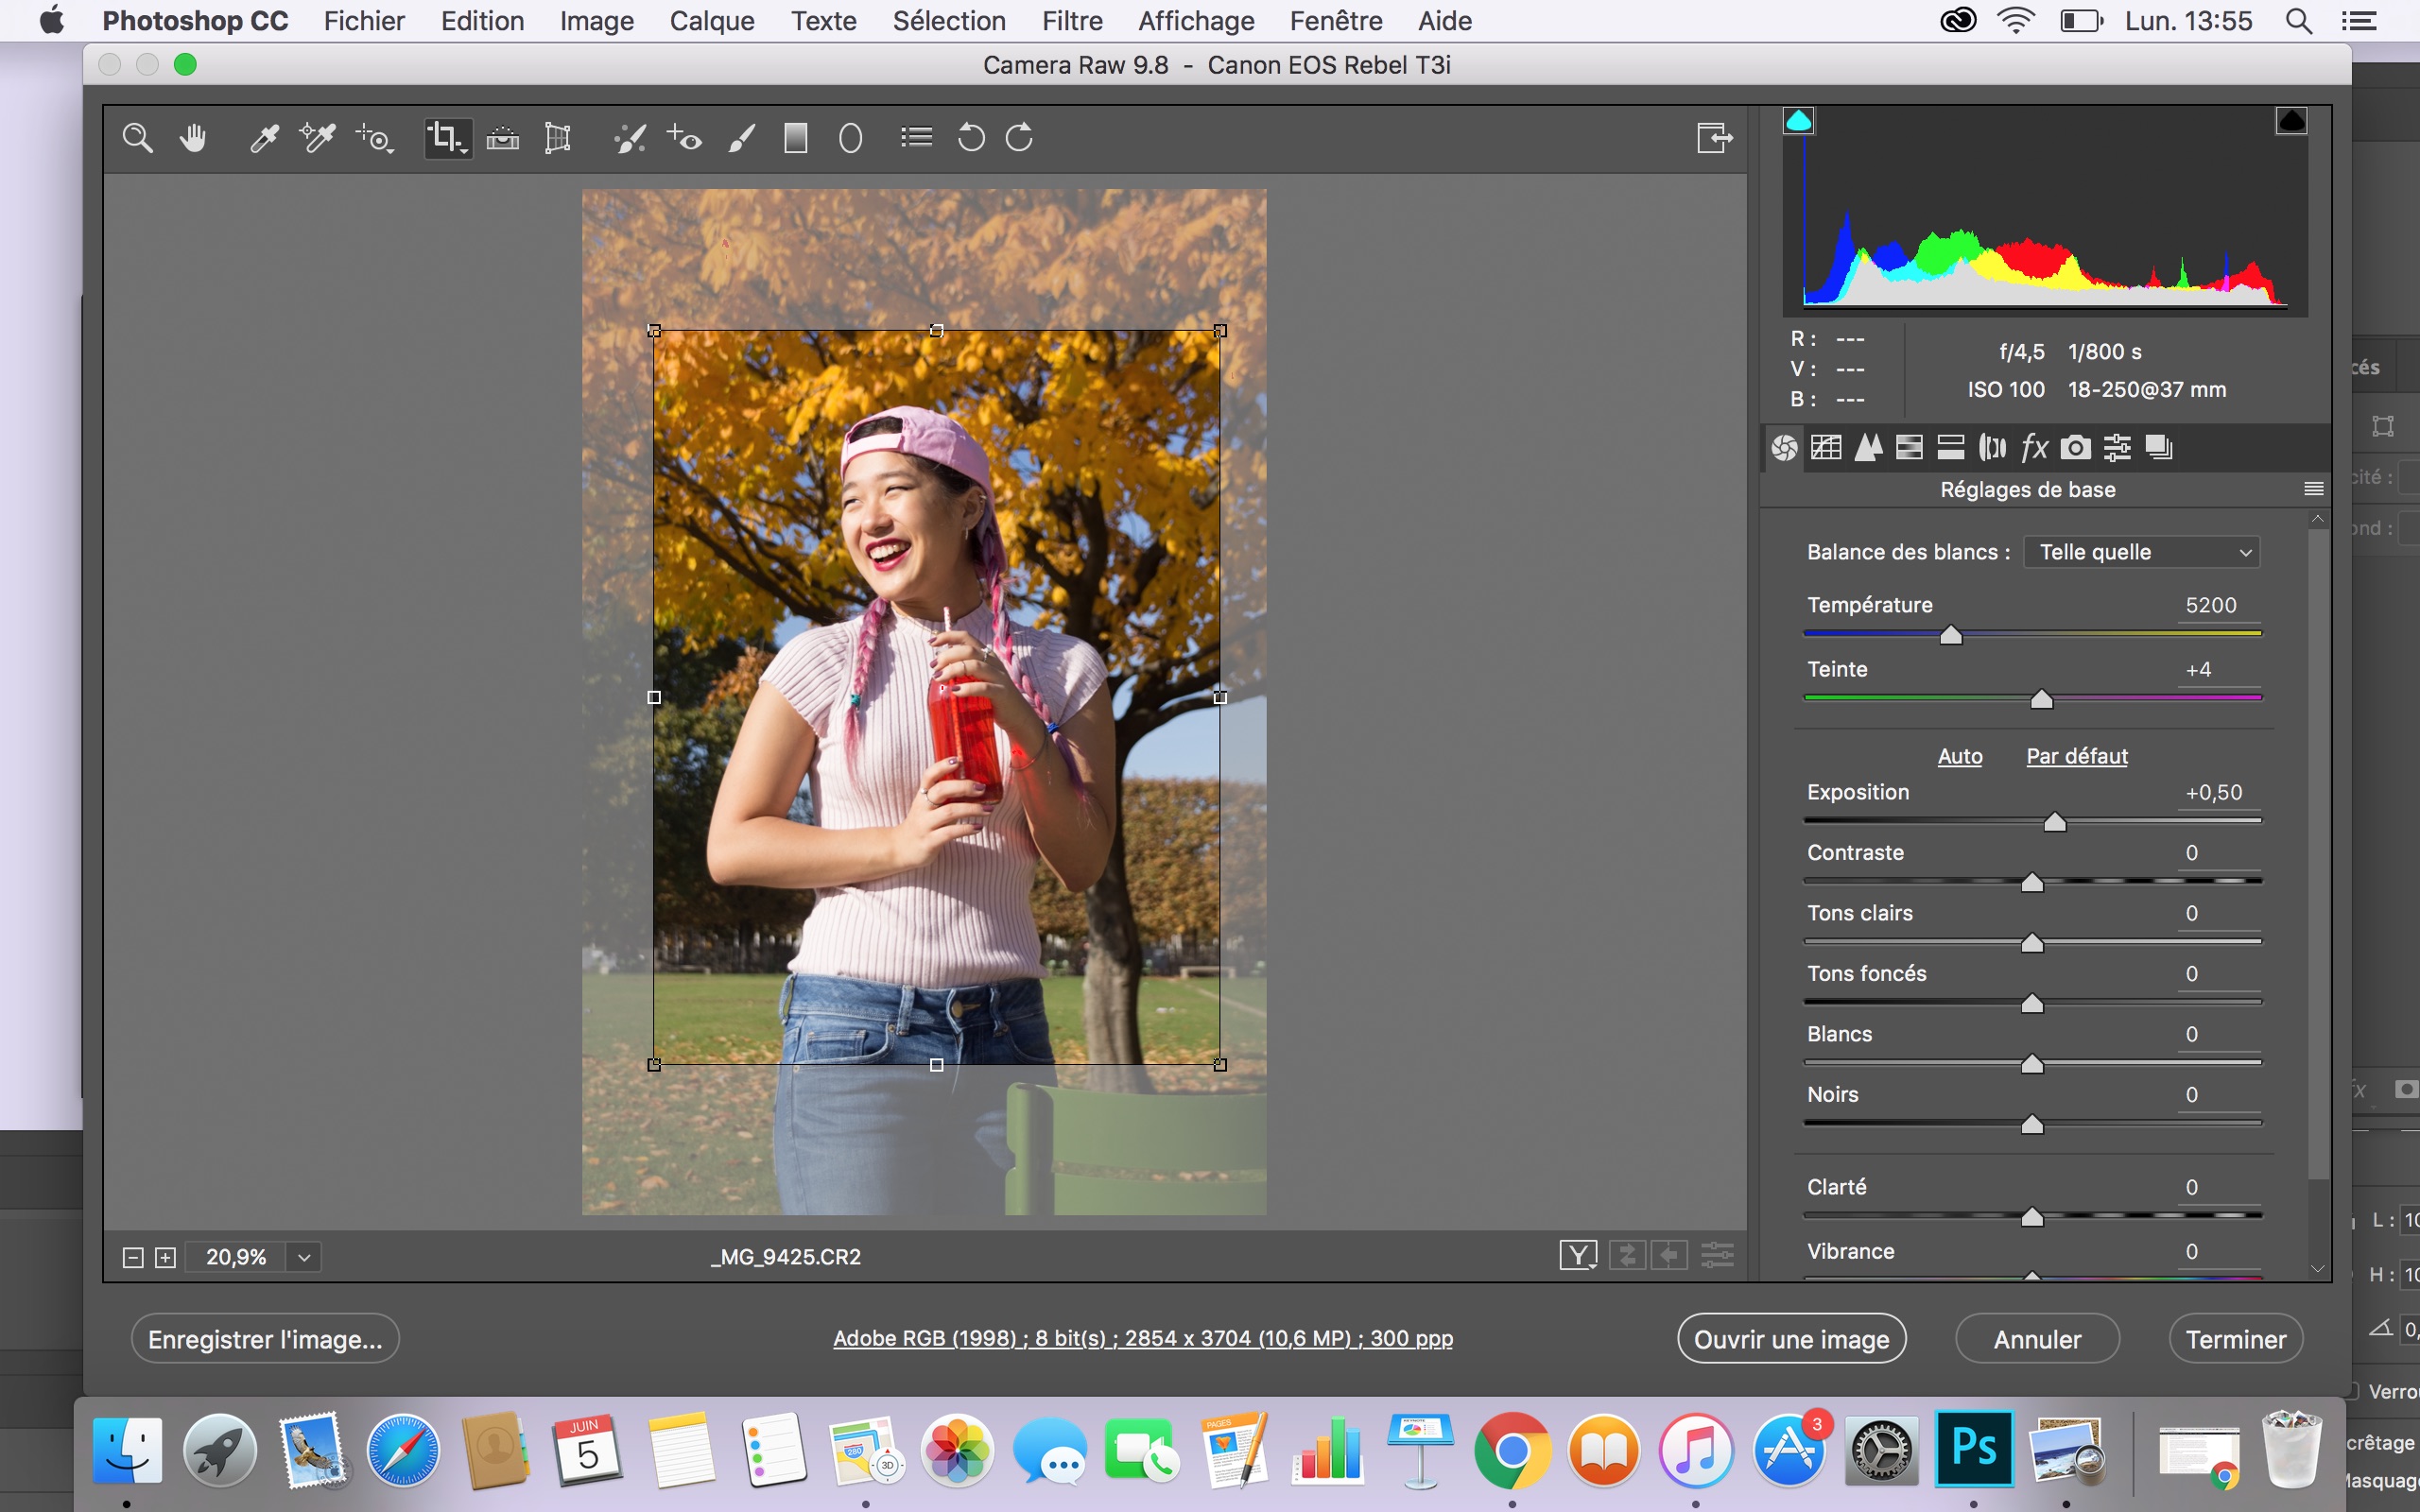
Also worth noting: cropping in Camera Raw is the best. Unlike in other programs, all of the information post-crop is saved, and you can easily return to the complete image without having to ‘start all over’.
okay! let’s finally talk how to convert your raw image into a tif or jpeg!
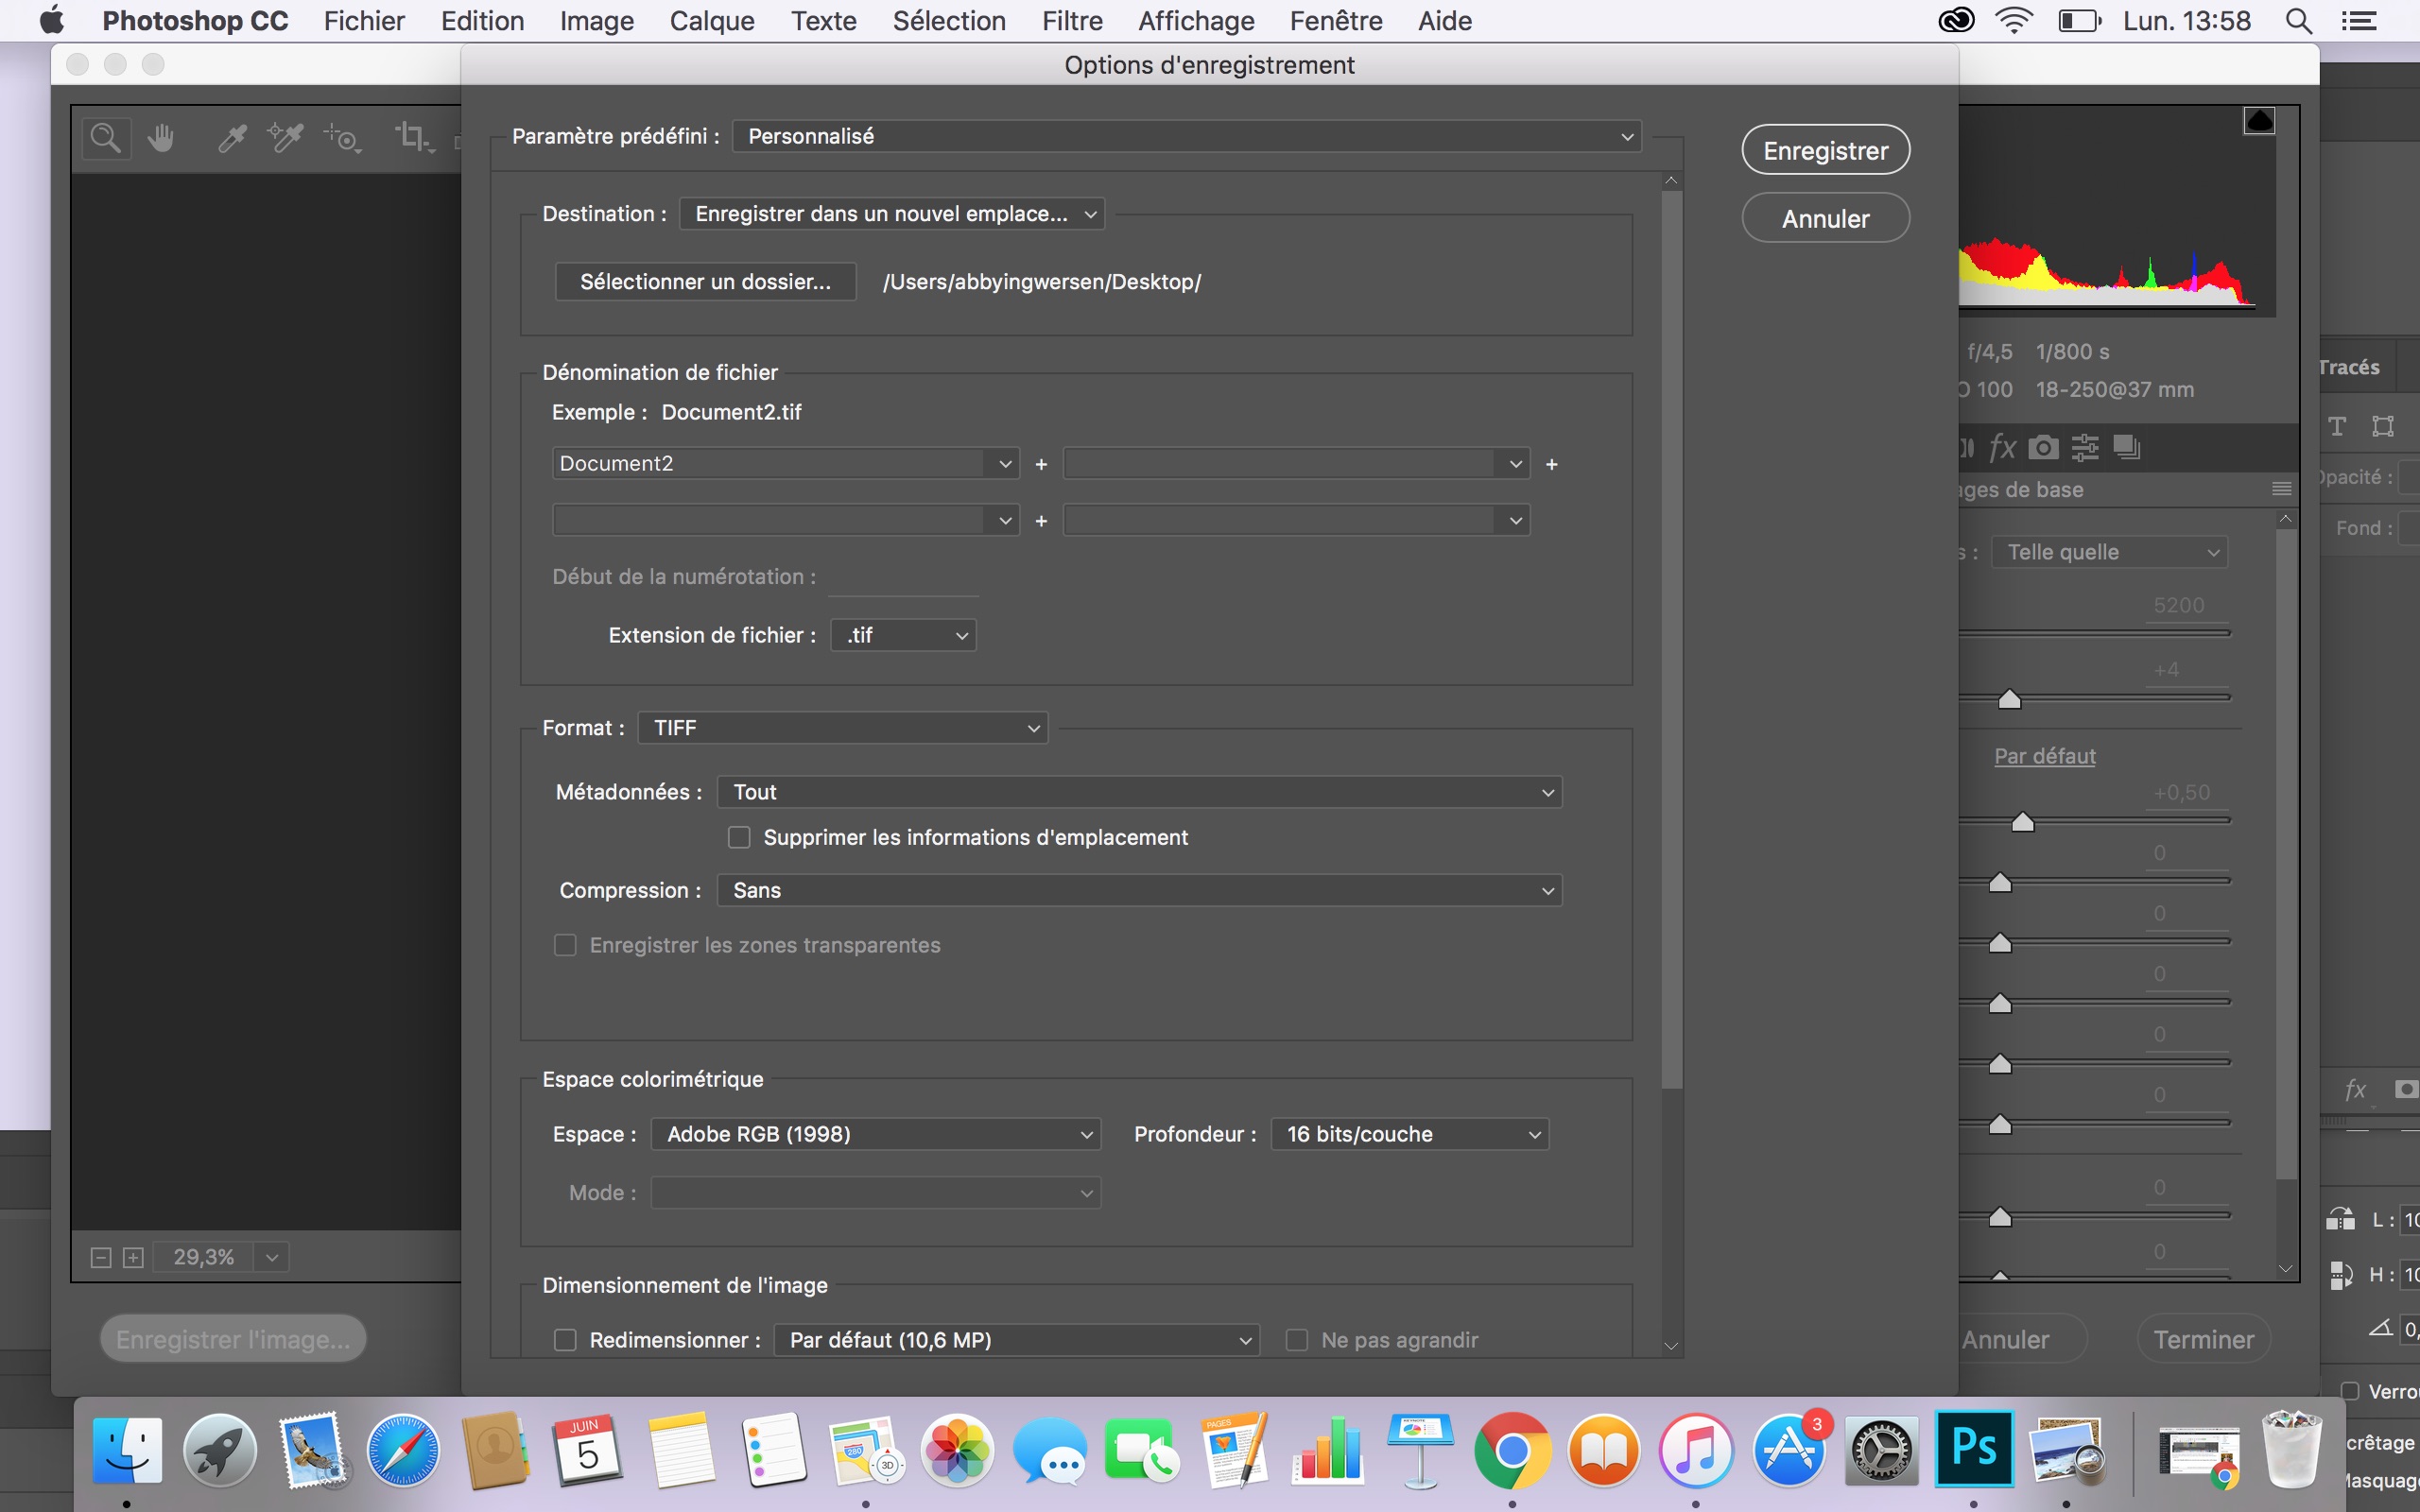
To begin, click ‘Save Image’ in the lower left hand corner. The grey box above will appear on your screen. You will then be able to select the folder your image will be saved under and the file extension. I always select TIF and highly recommend that you do the same.
TIF images, unlike JPEGs, support Photoshop layers and are far less destructible. I recommend always printing in TIF format, as well. You can easily save a TIF as a JPEG should you want to transfer images to a client or upload them on the web.
Also, I use and prefer the colorspace Adobe RGB 1998 and always, always save my files at 16 bits/channel. Most printers are not capable of printing at higher than 8 bits. What does this mean?
To put it simply, if I were to save this file at 8 bits and edit it further, I would be chipping away at the quality of the file and may very well end up with a 6 bit image for printing. If I save at 16 bits, I can edit it to my heart’s desire, chip away at a bit or two, then print it at 8 bits – the highest quality possible. Make sense?
Et maintenant je essayerai l’expliquer en francais…
D’abord, il faut cliquez sur ‘Enregistrer l’image’ dans le coin à gauche. Une boite grise va apparaître sur l’écran. Puis, tu peux choisir le fichier où l’image enregistrera et l’extension de fichier. Je sélectionne toujours TIF et je recommande que tu fais le même.
Les images TIFs, différent de JPEGs, soutiennent des calques sur Photoshop et je recommande aussi que tu imprimes toujours en TIF. Tu peux facilement enregistrer des TIFs comme JPEGs avant que tu n’envoies les fichiers aux clients ou avant que tu ne les mets sur l’internet.
J’utilise l’espace colorimétrique d’Adobe RGB 1998 et je toujours enregistre mes fichiers à 16 bits/couche. La plupart d’imprimantes ne peut pas imprimer à plus que 8 bits. Ça veut dire quoi ?
Si j’enregistrerais ce fichier à 8 bits et l’éditerais plus, je détruirais la qualité du fichier et j’aurais peut-être un fichier avec seulement 6 bits pour imprimer. Si j’enregistrerais le fichier à 16 bits je peux l’éditer encore beaucoup, détruire un bit ou deux, puis l’imprimer à 8 bits, la meilleure qualité. Est-ce que tu comprends ? C’était un peu difficile à expliquer en français. Je pense que n’ai pas réussi. :/
and that’s all there is to it!
The image will be saved and you can transfer it to Lightroom or Photoshop to edit it further, or simply convert it into a JPEG and upload it to your website. Yay you!
I hope I explained my process sufficiently well and that you (and your photos!) will benefit from this post. And if you liked it or have additional comments, pretty please leave a comment! I’d love to hear from you.
Wishing you the very best,
Abby
L’image sera enregistrée et tu peux la transférer au Lightroom ou Photoshop pour l’éditer plus ou simplement l’enregistrer comme une JPEG pour ton site web.
J’espère d’avoir expliquer ma méthode assez bien et que je ne faisais pas trop d’erreurs avec mon français. La grammaire est évidement toujours difficile pour moi.
Si tu as aimé cet article ou si tu as plus de questions dis-le-moi dans un commentaire, s’il te plaît !
Bisous !
Abby


When my dad first gave me his camera (the one I’m still using!), the camera was set to shoot both RAW and JPG. I was annoyed and asked my dad to change the settings to shoot only one, and I chose JPG. He thought I was crazy but I was stubborn. So I actually still shoot JPG o.o Storage has been a huge problem for me even though I have an external hard drive. But you’re right, not shooting RAW is pretty dumb haha. I’ll fix that this summer!! -Audrey | Brunch at Audrey’s
Hahah, I shot only JPEG for sooo long, then when I reached college my profs convinced me to switch to RAW. Buttt I was doubtful as to whether or not it was really a good idea (oh, Abby…) and shot RAW + JPEG for about 9 months after that… but only used the JPEG images because I still didn’t fully understand to advantage to shooting raw/how to convert the images into JPEGs.
Then this past September I began taking a class with the best. prof. ever. who taught the process and explained the differences so wonderfully, I haven’t looked back since. Honestly, I owe her literally everything!
I know what you mean about the storage… but it is SO worth any extra struggles. Start shooting RAW! At least for things that are really important… I shoot RAW all the time but there are def instances where I could shoot JPEG and it would be fine. I’m just such a creature of habit lol.
Yess it’s so important to shoot raw if you want to become more professional with photography! That way, when you start editing, you get more control over the end product. Thanks for this tutorial!
Kim
Simply Lovebirds
Thanks for reading, Kim!